October 07, 2026


A stone bench earns its keep all year, then takes a beating from October onwards. Rain soaks into every pore, frost expands inside the stone, algae settles into the damp patches, and by early spring the seat feels slick and looks tired. None of it is permanent. With a couple of dry days and a little patience, most benches come back looking close to new — and sealing them properly means far less scrubbing next spring.
The job follows a fixed order: inspect, clean, dry, seal. Miss the drying stage and you trap moisture inside the stone, which does more harm than leaving the bench untouched.
Sweep the bench first — moss and grit hide exactly the damage you are looking for. Then work over it slowly, in good light.
Tap the surface with your knuckles or the handle of a wooden brush. A dull thud is fine. A hollow, drummy sound usually means the top layer has separated from the stone beneath, which is classic frost damage. Look for hairline cracks, crumbling edges, and grains or flakes coming away. Check the joints where the legs meet the seat, too. An opened joint lets water in, the next frost widens it, and the process repeats until something moves.
White powdery bloom on the surface — efflorescence — is salts pushed out by moisture travelling through the stone. Brush it off when the bench is dry, but never seal over it; you would be trapping the salts under the finish, and they will lift it.
While you are down there, check the fixings. Rusted bolts stain stone and eventually fail, so replace them rather than painting over the problem. If a crack opens and closes when you press it, if a leg rocks, or if a section has come loose, stop and speak to a stonemason before resealing. Structural repairs on natural stone usually want a lime mortar, which is softer and more forgiving than cement.
Not all stone behaves the same way. Sandstone, limestone, and cast or reconstituted stone are porous and respond well to gentle cleaning. Granite and slate are denser and tougher. Two cautions before you pick up a bottle:
Gather your kit before you start:
Start dry. Moss and lichen lift away far more easily when they have not been soaked, so scrape and brush first, then sweep up the debris.
Wash in small sections using warm water and a mild detergent. Agitate with the nylon brush, then rinse thoroughly with clean water before moving on. Leftover detergent stops sealer bonding, so the rinse matters as much as the wash.
For black or green algae, a biological patio cleaner works well. Apply it, leave it for the dwell time on the label, then brush and rinse. Keep run-off away from flower beds, lawns and ponds, and rinse any plants that get splashed. Wear gloves and eye protection and follow the label — it is the only guidance specific to the product you have actually bought.
On pressure washers: use the lowest setting and a wide fan nozzle, and keep the lance at least 30cm from the surface. Never hold it in one spot. High pressure strips the surface, opens the pores and gives algae a better foothold next winter. On soft sandstone or older cast stone, leave the pressure washer in the shed.
This is the step people rush, and it is the one that decides whether the sealer lasts. Sealing over damp stone traps moisture inside. The next frost pushes it out, and the finish blisters, flakes or turns patchy.
Allow at least 48 hours of dry weather after cleaning — longer in cool, humid conditions, and longer still if the bench is thick or you used a pressure washer. Stone often looks dry on the surface while holding water lower down, so give it more time than feels necessary. Finish cleaning in the morning and let the day do the drying, rather than sealing in the evening when dew is due.
Look for a breathable, impregnating sealer, usually silane or siloxane based, sold for natural stone. These soak in and line the pores rather than sitting on top.
Avoid film-forming finishes. Varnish, lacquer and gloss coatings trap moisture, peel within a season or two, and leave a patchy mess that has to be stripped before you can start again.
A penetrating sealer will not make the bench waterproof. It slows water absorption and makes it harder for algae to grip, which buys you time between cleanings.
Test on a hidden area first. Some sealers noticeably darken stone, and while a wet look suits slate and granite, it can flatten the character of pale limestone. Better to find out on the underside of the seat than on the seat itself.
Photo: Jahra Tasfia Reza / Pexels
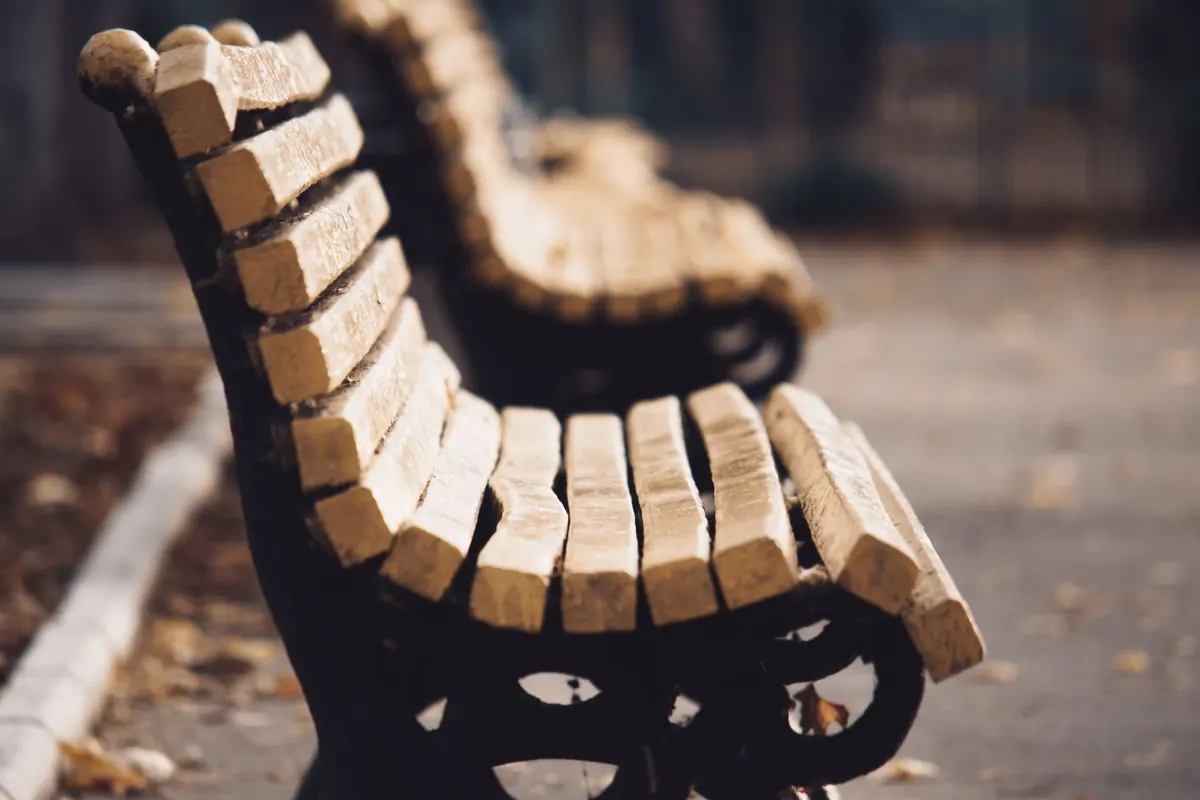
Handcrafted stone benches for gardens and landscapes.
Copyright © 2026 Pebble Bench. All rights reserved. Pebble Bench.