October 07, 2026


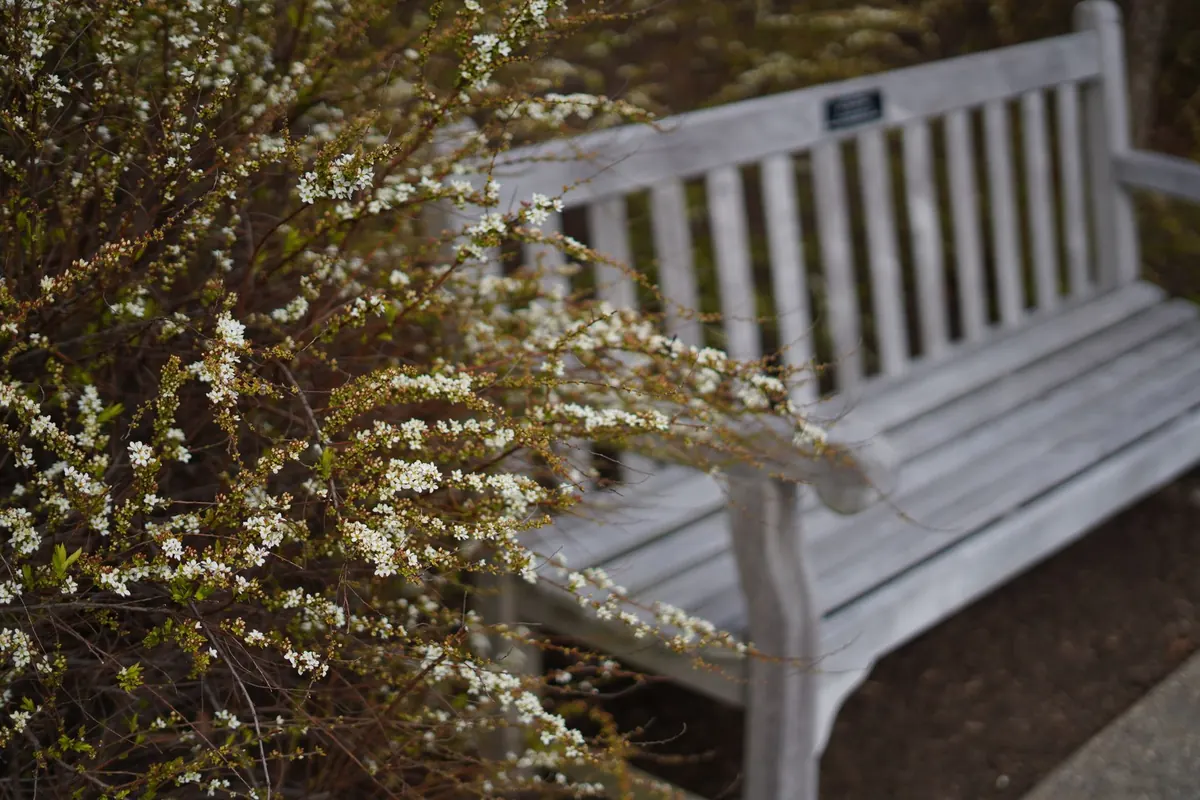
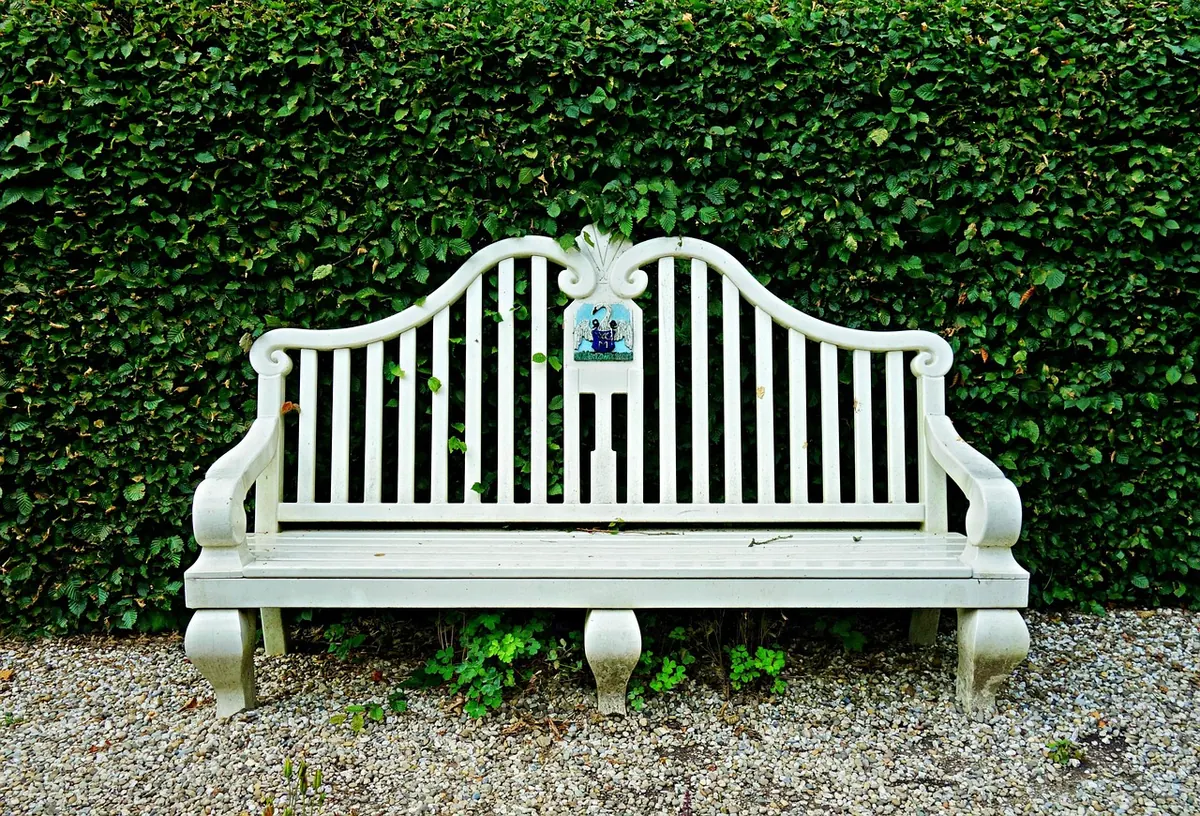
Spring rain is the best detective a garden has. It shows you where water pools beside a bench, where a pebble bed has quietly dipped, and which joints filled with moss over winter. Stone benches and pebble seating rarely fail dramatically. They soften, green over, settle by a few millimetres and lose their crisp edge — and by the time you notice, you're dealing with a wobbly seat rather than a dirty one. A couple of hours in April, when the ground has warmed but the weeds are still small, sorts most of it.
Do this before you clean anything, on a dry day, so dirt isn't hiding a crack or a soft patch.
Write it down on your phone. It's surprisingly easy to forget the one corner that wobbled once you've got a brush in your hand.
Most of what dulls a bench by spring is biological, not greasy. Algae, lichen, moss and a fine film of dirt sit on the surface, and they come off with warm water, a pH-neutral stone soap and a stiff nylon brush. Work on a section at a time, rinse before the water dries, and don't let dirty water run into the joints.
Skip the wire brush, particularly on sandstone and limestone. It scratches the surface and leaves it rougher, which gives next winter's algae somewhere to grip.
Useful on granite and other hard stone, risky on anything soft or mortared. Keep the pressure low, keep the nozzle moving, and never hold it close to a joint — that's where you'll blow out the mortar and undermine the bench. If the stone is sandstone or limestone, or the bench is old, a brush and a bucket is the safer call.
The chalky white staining that appears after a wet winter is salt drawn to the surface as the stone dries. Brush it off dry and let the stone dry out before doing anything else. Washing it in only pushes the salt back where it came from.
For stubborn black spot and lichen, use a cleaner made for the stone you have, follow the label, wear gloves and eye protection, and keep it well away from planting. Never mix two cleaning products.
Weeds are the quiet cause of movement. A dandelion rooting between a bench leg and paving lifts the stone a fraction every year, and moss along the edge of a pebble bed holds damp against the surface.
If you'd rather avoid chemicals, boiling water poured carefully along a joint kills young weeds and moss without leaving residue. If you do use a weedkiller, choose one labelled for paths and paving, apply on a still day, and keep it off the bench surface and nearby beds — some products leave marks on stone.
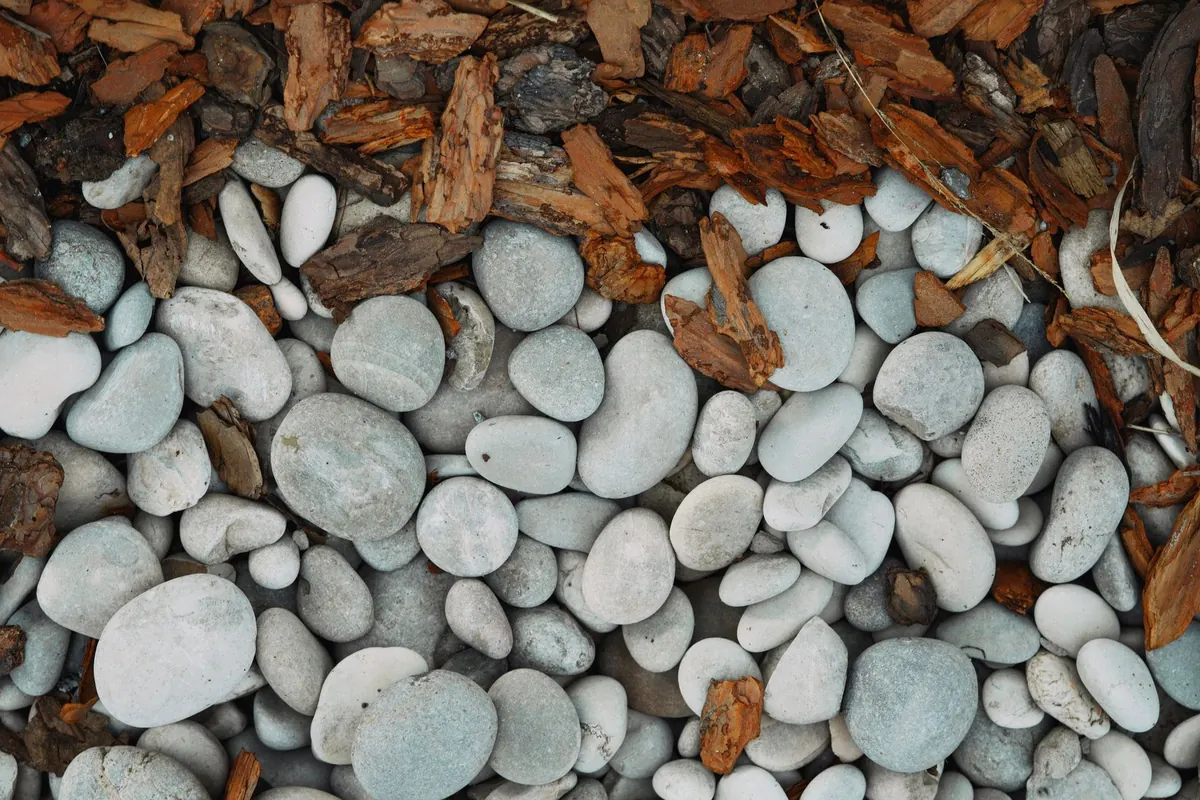
Pebble beds settle. Over a winter you lose depth to compaction, and a fair few stones end up in the border or on the lawn. A consistent depth of around 40–50mm over a weed-suppressing membrane is usually enough for a decorative seating area; go deeper if people walk across it.
Match the new pebbles to the old in size and colour. Mixed sizes settle unevenly and look tired within a season. Rinse dusty new stone before spreading it, or you'll wash a grey film over everything you just cleaned.
Walk the perimeter and push down on the edging. Loose or lifted edging lets pebbles migrate and grass creep in. Re-seat it, then check the membrane beneath — any tear becomes a weed patch by June. Patch with a fresh piece and overlap generously.
Rake level, then leave it. Footprints in fresh pebbles are the first thing you'll notice when you stand back.
Sealing divides opinion, and it isn't automatically a good thing. Stone needs to breathe. A breathable, penetrating sealer on clean, dry stone slows water absorption and keeps algae down. A heavy film-forming sealer applied over damp stone traps moisture inside, and a frost will find it — that's how you get flaking and spalling.
Only seal in a dry spell, when the stone is genuinely dry through, and when the overnight forecast is mild. Check the product's instructions for drying times and temperatures, as they vary more than you'd expect. Test on a hidden area first, such as the underside of a seat slab, and see how it dries before committing to the whole bench.
If a bench is old, listed, or part of a wall or boundary in a conservation area, get advice before you seal, clean aggressively or repoint. A stonemason or your local authority can tell you what's appropriate — undoing the wrong treatment costs far more than getting it right the first time.
A bench that rocks isn't usually broken; its base has settled. Lift it with help — two people for anything heavy, and a lever or block to take the weight — then level the ground beneath with compacted hardcore and a bed of sharp sand. Set it back down, check for wobble, and adjust before filling around the legs.
Frost heave lifts slabs and edging. A slab that has lifted cleanly can be re-bedded on a fresh, compacted base. If it's cracked through, or a leg has split, stop using the bench while you decide what to do; a seat that gives way under someone is the one repair you can't postpone.
When repointing, match the existing mortar. Older and softer stonework generally does better with lime mortar, which moves and lets moisture escape, while hard cement mortar can trap water and damage the stone around it. If a joint is deep, or a wall is leaning, bring in a stonemason.
Once you know what you're looking at, the whole job takes half an hour. Look, clean, clear, top up, protect — then repeat a shorter version in early autumn before the wet weather arrives.
The benches and pebble beds that age well are the ones where water drains away and joints stay open. Everything else follows from that. And if something is beyond a brush and a bag of pebbles — a leaning retaining wall, a cracked seat slab, a bench you can't safely lift — call in a qualified landscaper or
Photo: Yintong Chen / Pexels
Handcrafted stone benches for gardens and landscapes.
Copyright © 2026 Pebble Bench. All rights reserved. Pebble Bench.