October 07, 2026


A curve that runs true looks as though it has always been there. A curve that wobbles looks like a mistake, and pebbles are unforgiving: every kink in the timber edge shows up in the line of the stones, especially in low winter light.
The base is the part nobody notices and the part that decides how the finished bench looks. Mark the curve carefully, dig it cleanly, fix the edging so it cannot move, and the rest is simply filling a shape you already trust. Allow a weekend, work in short sections, and don't rush the compaction.
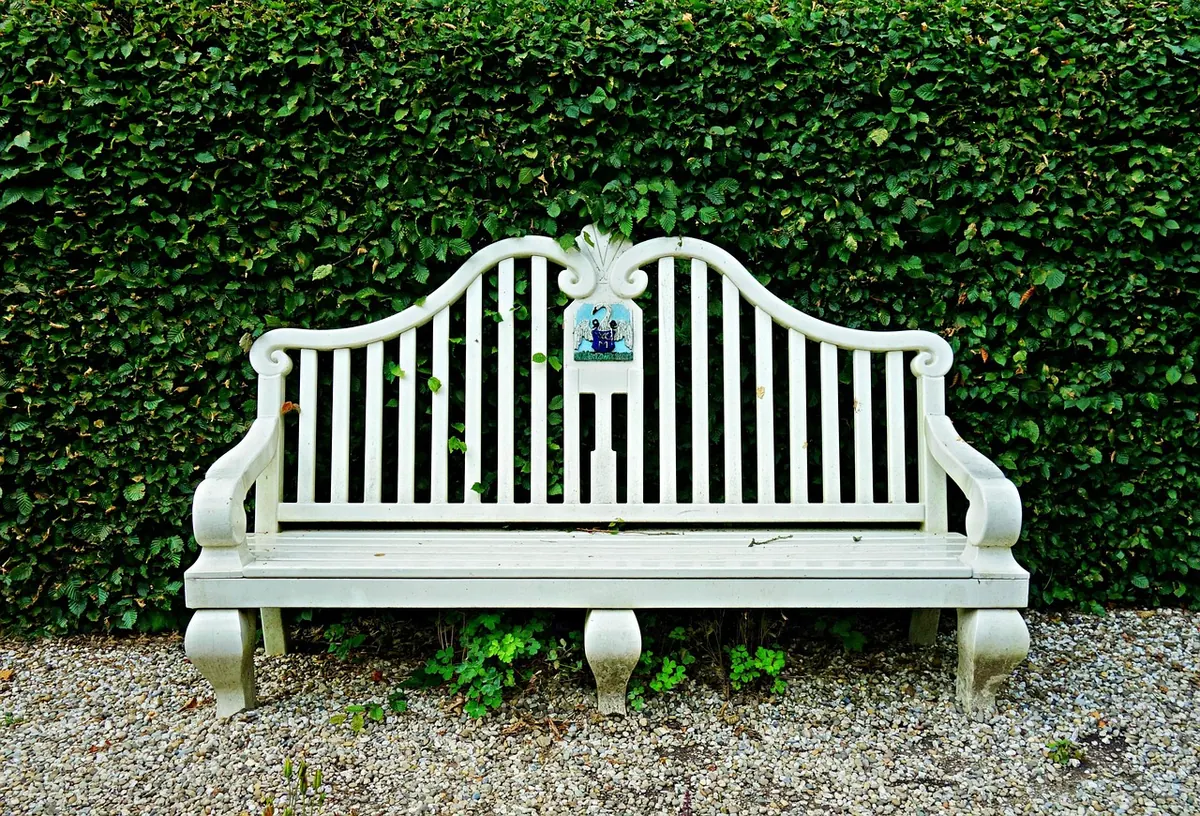
Start with the bench, not the pencil. Set it roughly where you want it, stand back, and look at it from the kitchen window, the back door and the end of the path. A curve that reads beautifully from the patio can look lumpy from the lawn. Move the bench until you're happy, then mark its footprint with a few canes.
For a simple arc or part-circle, drive a stake into the ground at the centre point, tie a length of string to it and cut the string to your radius. Hold a can of marking paint or a bag of sand at the end and sweep a line. Keep the radius generous — anything tighter than about 500mm is fiddly to edge in timber, and 1m to 1.5m is comfortable for most garden benches.
Free-form curves are easier than they sound. Lay a garden hose or a length of rope along the line you think you want, then kneel down and adjust it in small movements rather than big ones. Walk the whole curve a few times before you commit. Once it looks right, trickle sand or dry silver sand along it, or use spray marker paint, marking every 300mm or so.
Ask what is buried before you put a spade in. Old irrigation pipe, garden lighting cable, a land drain or a water main can all sit surprisingly shallow. Look for marker tape, ducting or a straight line of different-coloured soil, and use a cable detector if you have one. Dig by hand near anything that looks like a service, and if you're in any doubt, stop and take professional advice. A few minutes of caution beats a severed cable.
Watch for tree roots too. Severing a substantial root within the spread of a mature tree can affect its stability. If you hit roots thicker than your wrist, shift the curve rather than cutting through them.
Work back from finished level. As a rough guide, you need about 40mm of pebbles, 50mm of compacted sub-base, and enough depth for the timber to sit buried to at least half its width. A 100 x 50mm board set with the pebbles finishing 10mm below its top edge usually means digging to around 150mm. Adjust for your own timber and check as you go with a straight edge and a spirit level.
Cut the turf along the marked line with a half-moon edger, then lift it in slabs and stack it somewhere out of the way — it makes decent compost or patching material. Take out the soil in sections, keeping the trench bottom reasonably firm and even. Soft spots will let the edging sink later, so firm them with a handful of crushed stone and a tamp.
On all but the firmest ground, lay 50mm of MOT Type 1 or similar crushed stone and compact it thoroughly with a plate compactor or a heavy hand tamper. Stop when the surface rings slightly under the tamper and no longer moves. Then rake it level and check your depths again.
Pressure-treated softwood is the sensible default: 100 x 50mm boards, rated for ground contact, will give you a decade or more in most gardens. Oak and sweet chestnut last longer but cost more and are harder to bend. Whatever you choose, avoid untreated timber — it will rot where it matters most, at the buried edge.
Timber does not like tight curves, so don't fight it. Cut the edging into short lengths of 300mm to 500mm and set them end to end, angling each cut by half the bend so the joints close tightly on the outside of the curve. For gentle sweeps you can instead cut shallow kerfs across the back of a longer board every 50mm or so, two-thirds of the way through the depth. Kerfing weakens the board, so support those sections with pegs at closer centres.
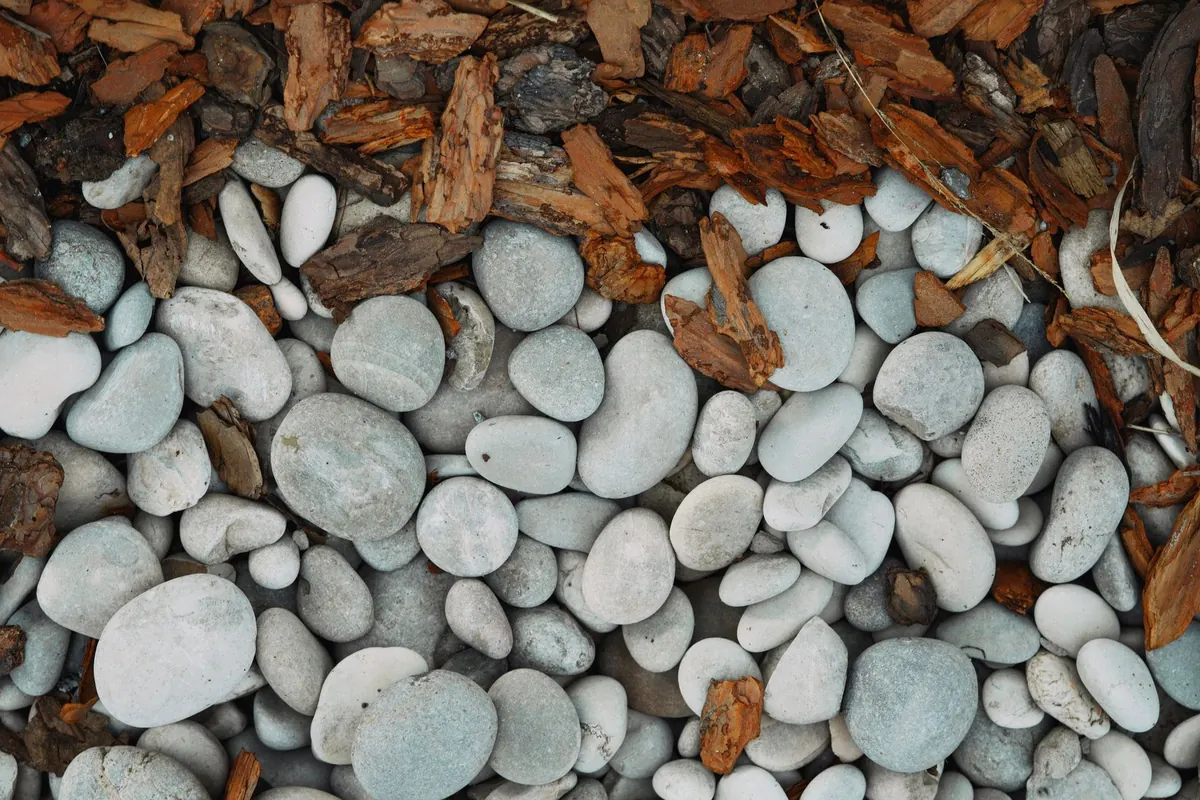
Cover the base with a woven weed membrane, lapping the edges up behind the timber. Choose rounded pebbles of 14mm to 20mm for a neat, comfortable finish, or 20mm to 40mm for a chunkier look. Angular stones lock together better on slopes; rounded stones are kinder underfoot and easier to sweep.
Tip the pebbles in and spread them with a rake to about 20mm, water the surface lightly to help them settle, then compact with a plate compactor fitted with a rubber mat, or a hand tamper in small areas. Keep the passes light. Rounded pebbles can shatter and go chalky if you hammer them. Add the second layer to bring the finished surface 10mm to 15mm below the top of the timber, then compact again.
Give the whole base a gentle fall of about 1:60 away from the bench so rainwater runs off rather than pooling. Stand the bench on paving pads or small concrete flags set into the pebbles — not directly on the stones — so it stays level and doesn't settle unevenly.
Top up the pebbles once a year, or after heavy rain, and re-firm any hollows. Sweep leaves off in autumn; left to rot, they turn the surface into a seedbed. Check the timber each spring for movement or rot and replace the odd board rather than the whole run.
If the edging is untreated oak, let it silver. If it's softwood, a coat of suitable wood preservative or oil every couple of years will keep it looking deliberate rather than neglected. A well-set curve needs very little after that — which is the whole point of doing the base properly the first time.
Photo: Sergey Okhrymenko / Pexels
Handcrafted stone benches for gardens and landscapes.
Copyright © 2026 Pebble Bench. All rights reserved. Pebble Bench.