October 07, 2026


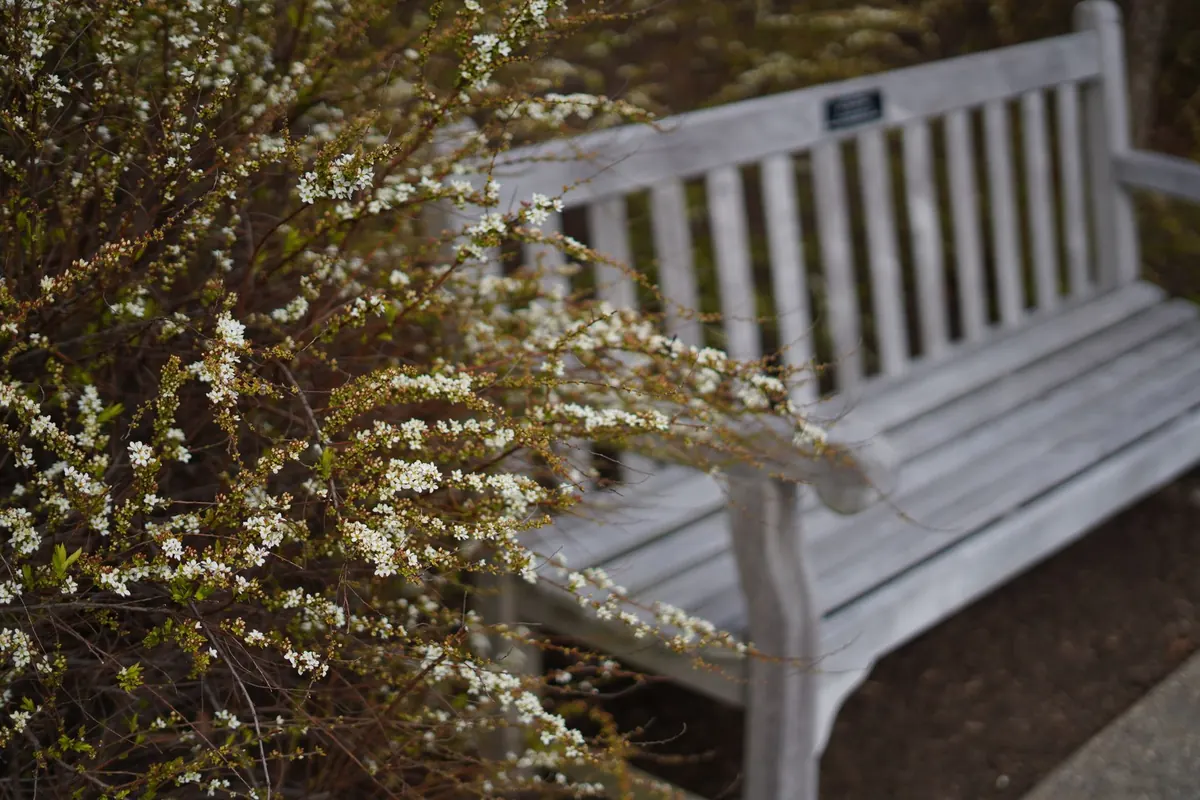
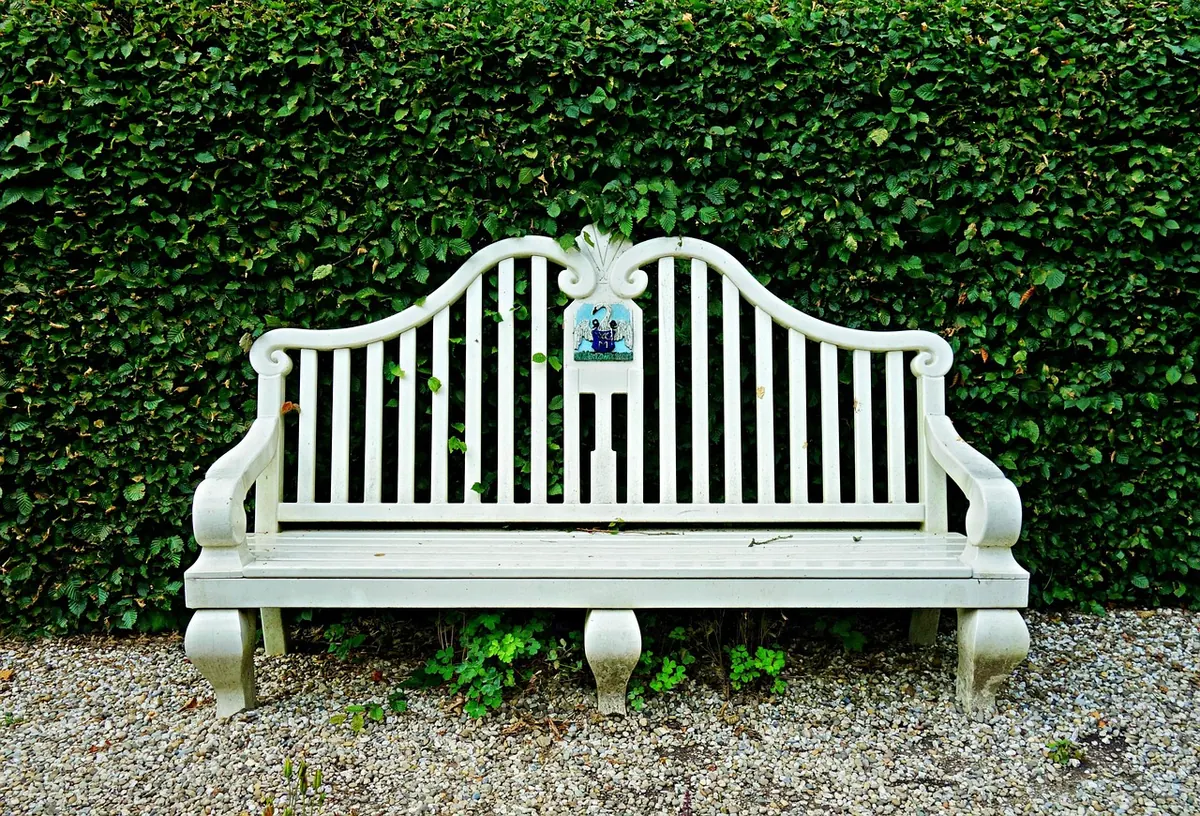
A bench only earns its place in a garden when the ground around it feels like somewhere worth sitting. A pebble mosaic apron — a band of set stones curving around the legs of a seat, or a full patterned panel beneath it — does two jobs at once. It gives shoes somewhere clean to land, and it turns an ordinary wooden bench into something you notice from the kitchen window.
The craft is old, cheap and forgiving. You are pressing small stones into a bed of mortar in a pattern you can hold in your head, and the finished surface is tough enough to shrug off frost, rain and a decade of boots. What follows is what you need to know before you mix your first bucket: the sizes that actually matter, the tools worth owning, and a handful of layouts that look deliberate rather than accidental.
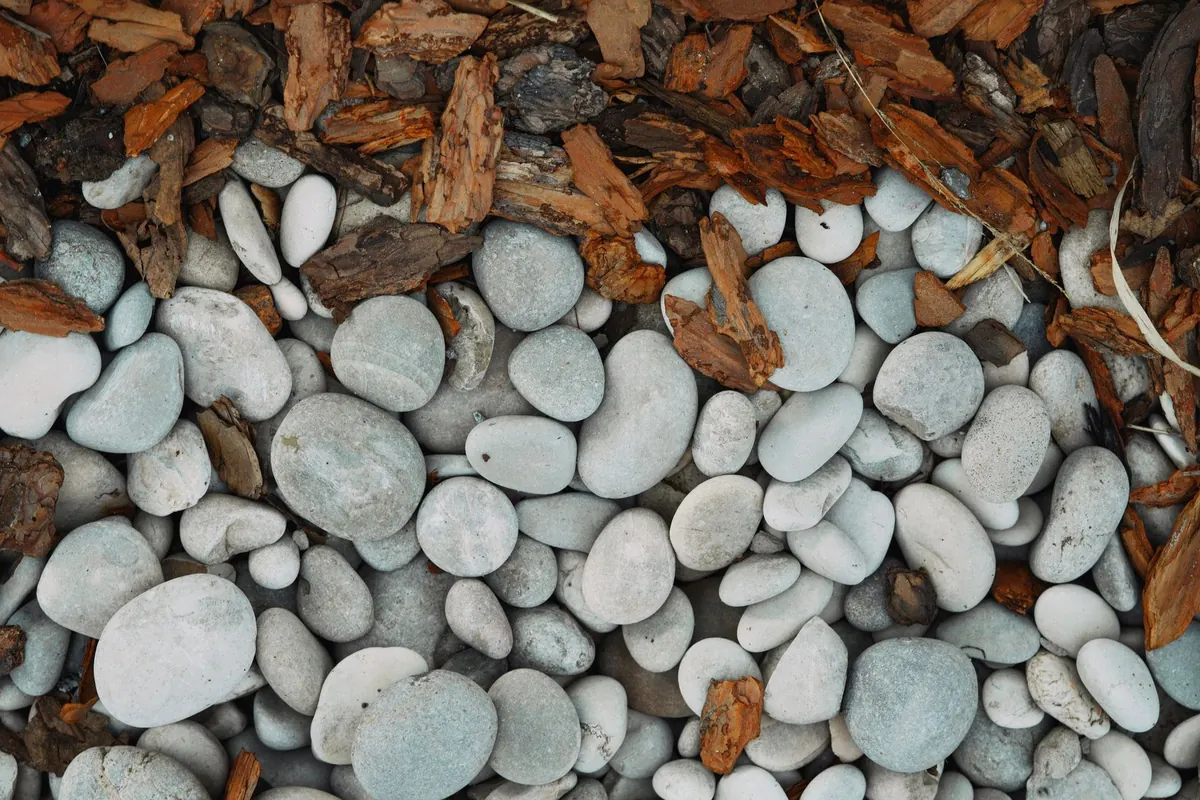
Pebbles are sold by size band, and the band matters more than the colour. As a rough rule:
Two or three sizes are plenty for a first panel. Bags sold loosely as “decorative pebbles” often contain a spread of sizes that fight each other; if you want crisp lines, buy graded bags instead. Shape matters too. Flat pebbles laid flat — slate chips, flat river stones, pea shingle — sit comfortably underfoot and are the sensible choice anywhere you stand. Rounded river pebbles set on edge give a bolder, older-fashioned look, but the surface is lumpy, so keep edge-set work to a border or a narrow band away from where feet land.
Whatever you buy, wash it. A bucket of water and a quick rinse removes the dust that stops mortar gripping properly.
Arcs of one colour, separated by rings of another, radiating from the centre of the bench or a round table. This is the friendliest pattern for beginners because mistakes disappear into the curve, and it works beautifully with a circular seat.
Straight rows running parallel to the front edge of the bench, alternating two colours and two sizes. Simple, modern, and quick to lay. Vary the width of the bands slightly so the eye has something to follow.
Overlapping half-circles marching along a path or apron. Traditionally laid with larger pebbles on the outside of each fan and smaller ones towards the centre, which gives each scallop a soft, feathered edge.
Alternating dark and pale squares, rotated ninety degrees between rows. It needs accurate setting out with a string line and a square, but it is the pattern that reads most clearly from a distance.
Whichever you choose, decide on two or three tones and stick to them. Contrast does the work; four colours in one small panel usually just look busy.
You do not need much, and most of it is already in a shed. The items that genuinely help:
The pattern is the easy part. The base is what makes it last.
Leave the panel alone for at least 48 hours, and keep it damp in warm weather by misting it lightly — mortar that dries too fast is weak mortar. Avoid walking on it for two or three days, and keep heavy furniture off it for a week.
Once the surface is thoroughly dry, seal it with a breathable stone sealer rather than a glossy varnish. A matte or satin finish keeps the colours strong and makes weeding and scrubbing far easier. Avoid polished pebbles anywhere you will stand: smooth, sealed stone becomes slippery when wet. A stiff brush and a bucket of soapy water once a year is all the maintenance most panels need. If you are laying an apron around an existing tree, or working close to a wall or drainage run, it is worth checking with a qualified landscaper before you dig.
The quickest way to learn this craft is to build a single square metre somewhere out of sight — beside the shed, or in the corner of a patio — before you touch the area around your bench. Buy one bag of small pebbles and one of medium, mix a small batch of mortar, and lay a simple spiral or a fan. You will learn more in an afternoon about how wet the mix should be and how firmly to press than from any number of photographs.
When you move on to the real thing, draw the design full size on the ground with a chalk line or a length of hose, order slightly more pebbles than you think you need, and lay it in one push on a dry day. A pebble apron around a bench is a weekend’s work, and it will still be there, sitting quietly underfoot, long after the bench itself has been replaced.
Photo: Hans / Pixabay

Handcrafted stone benches for gardens and landscapes.
Copyright © 2026 Pebble Bench. All rights reserved. Pebble Bench.