October 07, 2026


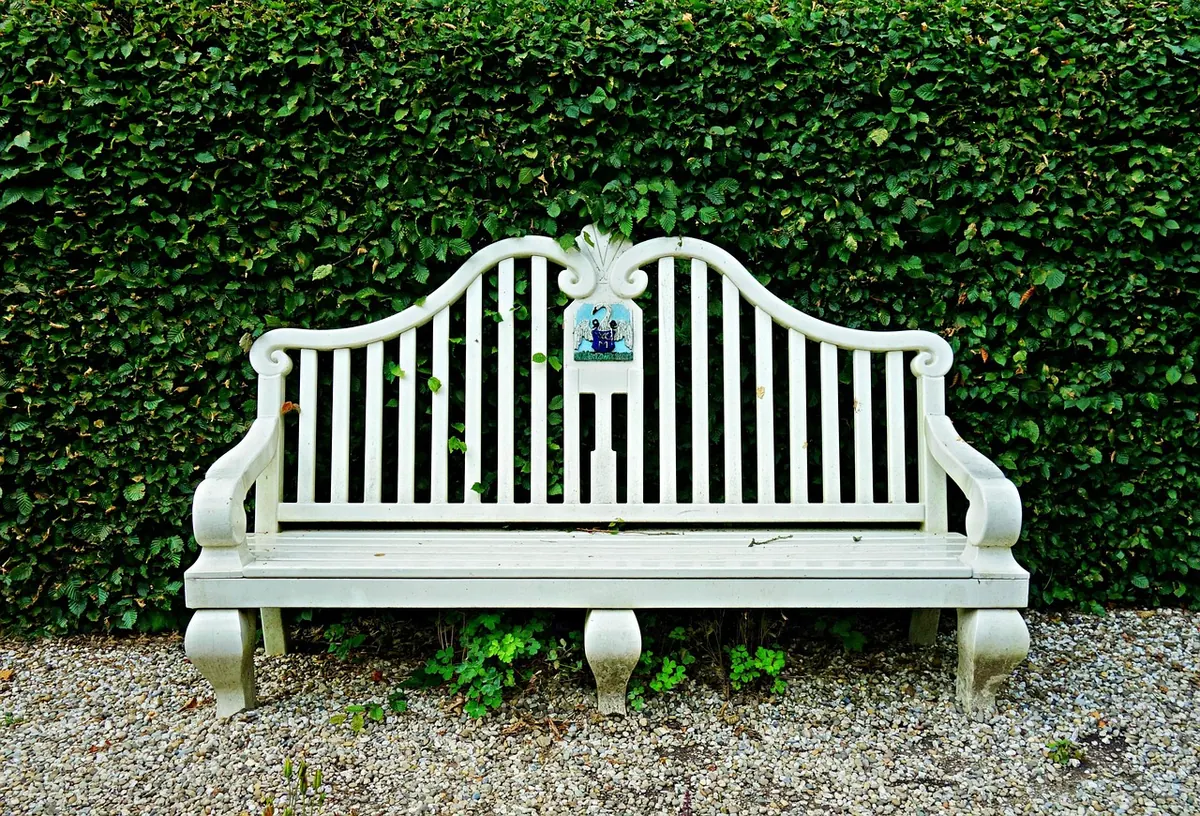
A pebble-inlaid bench surround has an easy, settled look about it, as though the stones simply gathered there on their own. That look is the last ten per cent of the job. The rest is levels, base, edges and drainage, and it is the part nobody photographs. Get those four right and the pebbles stay where you put them, the bench sits flat, and rainwater leaves in an orderly fashion rather than pooling under your feet.
Below is the order of work we would run through on a small patio project, from the first line of string to the last barrow of gravel.
Mark the bench pad first, then the band of pebbles around it. Give yourself 300–450mm of pebble between the paving and the lawn or border. Narrower than that and it reads as a gap rather than a feature; wider and you will be raking it forever. Widen the band slightly at the front of the bench, where feet actually land.
Square your corners with the 3-4-5 method or by measuring diagonals, and mark the lines with sand, string or marker paint. Before the spade goes in, check two things: any services plans for the area, and where the downpipes, air bricks and damp-proof course sit on the house wall. Ten minutes with a torch now saves an afternoon of unpleasant discoveries later.
Two levels matter on this job, and they are not the same thing: the finished surface, and the bench pad itself.
Use a string line and pegs, a long spirit level on a straight edge, or a laser level. Set your datum from the DPC or from existing paving that already works. Then check the fall at every stage, because a slope lost under the sub-base cannot be recovered honestly — only covered up with extra bedding, which is a bodge that shows up within a season.
Strip the topsoil and any soft, organic ground. A typical build-up for a pebble surround is 75–100mm of compacted sub-base, 30–40mm of bedding, then the pebbles themselves. Type 1 is the usual choice; a permeable sub-base is worth considering where drainage is tight.
Lay the sub-base in two 50mm layers, damp each one and compact it properly with a plate compactor. Thick single layers do not compact through — the bottom stays loose and you find out about it in a year. A geotextile over the finished sub-base stops the bedding silting into it, which is cheap insurance.
For bedding, sharp sand or grit sand screeded to a consistent depth is fine for a loose surface. Where slabs will take the bench legs, a rigid sand-and-cement bed holds its level better. Test the sub-base by walking it: if anything rocks or sounds hollow, it is not finished.
Pebbles look like drainage. They are not a drainage system on their own. Water still needs a route away from walls, doors and low spots.
On heavy clay, a soakaway may simply not work. That is a good moment to get a local landscaper or drainage specialist to look at the site before you dig, rather than after.
Every loose surface creeps. Edging is what holds the line, keeps stones off the lawn and stops the whole thing dissolving into a border.
Rigid edging — steel, aluminium or a stone kerb — set on a concrete haunch is the reliable option. Set the top flush with, or slightly below, the finished pebble level, and check line and level before the concrete goes off, because everything afterwards is measured from it. Where pebbles meet grass, set the edge flush with mowing height so you can run the mower straight over. Mitre or curve your corners; a sharp ninety-degree turn in gravel is a place to stub toes on a dark evening.
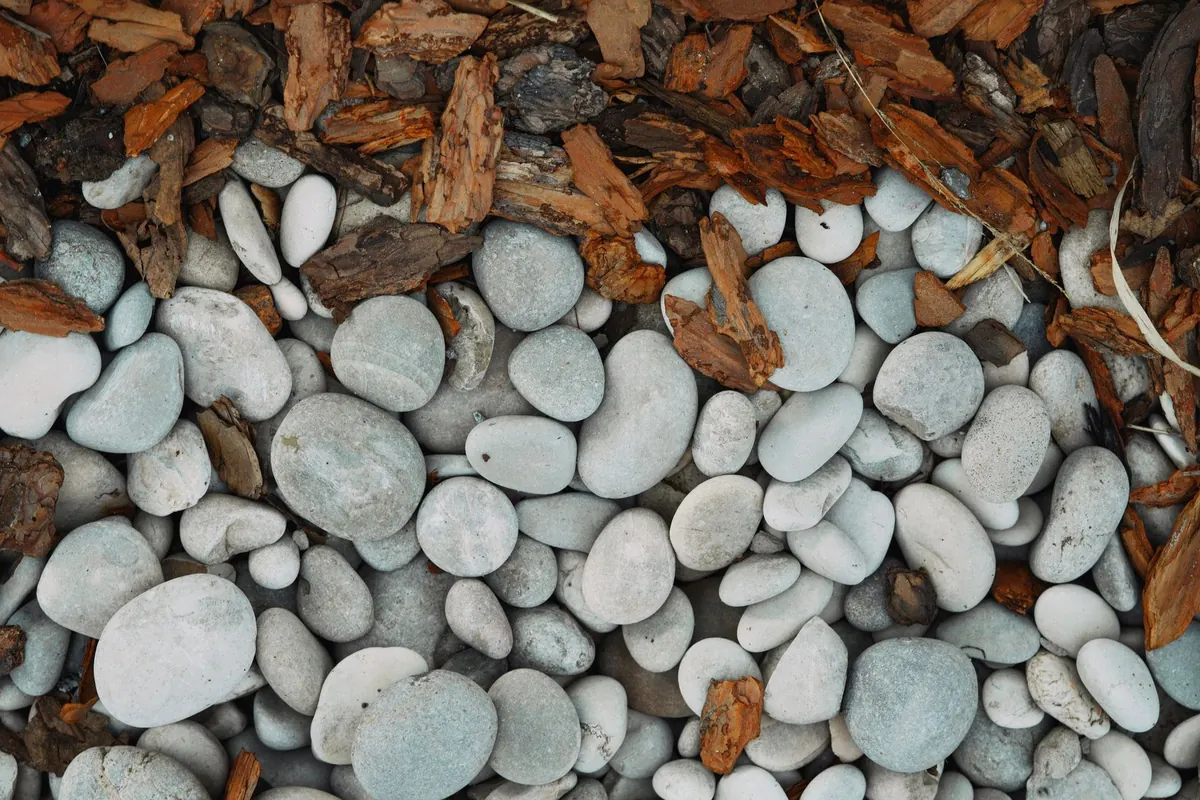
Spread 40–50mm of pebbles over a woven geotextile. Deeper than that and the surface feels unstable to walk on and is awkward to rake; shallower and weeds push through while the stones migrate into the paving. On size, 14–20mm pea gravel is comfortable underfoot, while 20–40mm gives a chunkier, more deliberate look. Rounded stone is kinder to bare feet than angular.
Lay the woven membrane over the sub-base, lapping joins by around 150mm and turning it up behind the edging. Keep the pebble surface a few millimetres below the edging top so nothing spills over. Rake it level, water it in to settle the dust, then plan to top up by a small amount after a week — fresh pebble beds always drop slightly as they bed down.
Pour a bucket of water at the highest point and watch where it goes. Sit on the bench and shift your weight from side to side. Run a straight edge across the pebbles and the paving; nothing should catch. Sweep a handful of stones towards the edge and check that the edging stops them.
Then leave it alone for a week. Pebbles settle, and the low spots and thin patches show up in ordinary daylight far better than they do under a work lamp. After that, a rake in spring and a top-up every few years is about all the maintenance this kind of surround asks for. Get the four invisible things right — level, base, edge and drainage — and the visible part looks after itself.
Photo: MartyNZ / Pixabay

Handcrafted stone benches for gardens and landscapes.
Copyright © 2026 Pebble Bench. All rights reserved. Pebble Bench.